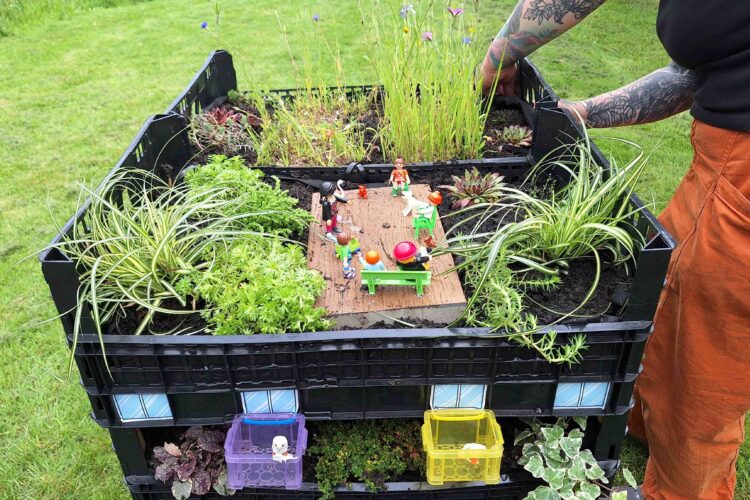
A Cooling Tower is a standalone miniature 'block' of plants that makes the most of growing plants as a climate cooling action, even when you don't have much ground-level space. A square metre is enough. By stacking plant crates and filling them with soil, you create 5 times the plant surface while using only a small footprint on the ground.
This is a simple, low-cost activity that can be built almost anywhere. A simple Tower can be made in a few hours and it makes a great community or school activity or something to make at home.
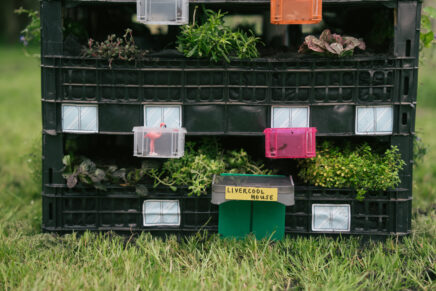
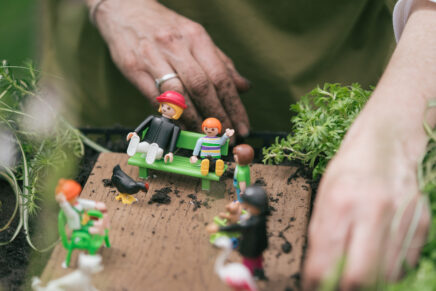
A Tower lends itself to creating a mini-world, perhaps a small version of a block of flats, a school, or a care facility. You can bring it to life by adding balconies and figurines.
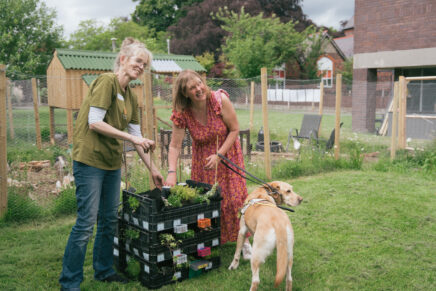
A long-term location: Your finished Tower will be too heavy to move so choose a location where you can build it and look after it.
An accessible location: Choose a location that is easy for people to get to and where it will be easy to water and look after it. You will need to reach all sides of the Tower so consider this too.
Large plastic plant crates (typically 600mm x 400mm): These need to be the same size and shape so they stack together and perforated so the water can drain through. They must be non-biodegradable or they will disintegrate over time. You can find used ones on ebay or other secondhand marketplaces, or you might find plant nurseries and food outlets giving them away.
Lightweight horticultural fleece: To line the crates and hold in the compost. This is sold on a roll in most garden centres or online. Make sure you choose one that lets water through.
Cable ties: These need to be strong or heavy duty as they will hold the structure together.
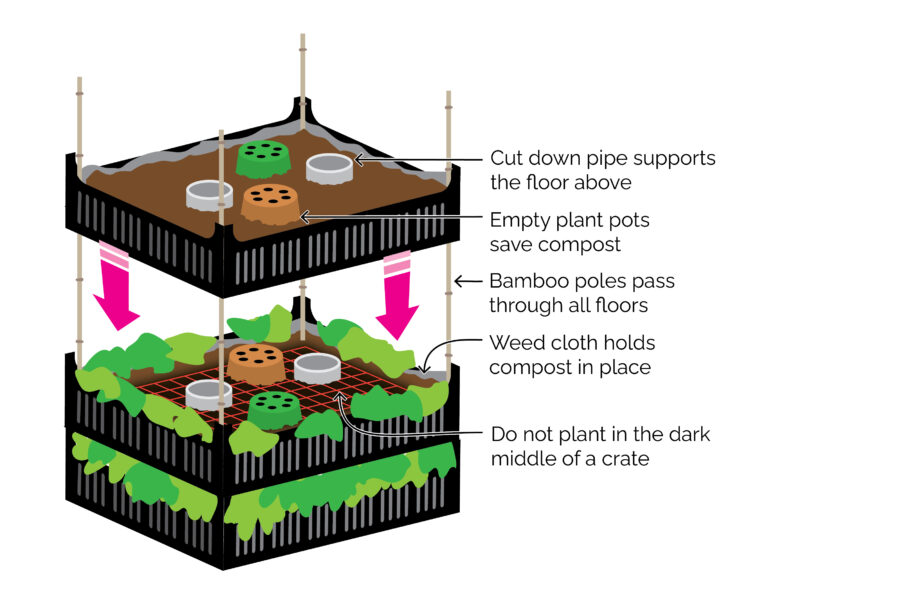
Drainage downpipe: To cut into shorter lengths and placed upright in the lower crates. When filled with compost, plants and water the bottom of the crates need to be supported to stop them sagging. These are often free from builders.
Bamboo canes: Long enough to pass from the top to the bottom of your tower giving it strength and structure.
Peat free compost: This will fill all your crates. A typical crate holds about 40 litres. You can reduce the amount of compost needed by adding empty plant pots into each crate.
Animations: Small containers to make balcony boxes, such as food storage or garage organisers. Figurines and models to decorate your Tower and bring it to life.
Plants: See the plant list at the end of this sheet.
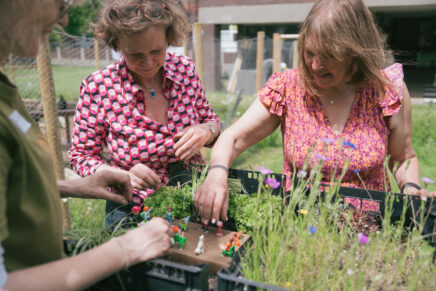
The tower is 600mm high, 800mm long and 600mm wide. It has two stacks of three crates, tied together to maximise stability. We used:
- 6 recycled fruit crates (200mm x 400mm x 600mm)
- 12 pieces of downpipe (each cut to 190mm long)
- 20 recycled plant pots (less than 190mm deep)
- 4 bamboo canes cut to 500mm (to finish 100mm below the top of the stack)
- 6m horticultural fleece
- 30 long cable ties
- 10 small boxes for balconies
- 150 litre compost
- Toy figurines
- Plants (see lists below)
Your finished Tower will be too heavy to move so you need somewhere with sunlight, easy access to water and space for you to build and look after your plants.
It is a good idea to prepare your crates and materials so you are ready to build and plant the Tower.
- Corner holes for bamboo canes: Maake sure there is hole in each corner big enough to pass a bamboo cane through.
- Line crates: Cut your cloth to cover the bottom and bring up the sides of the crate. Cut a hole in each corner to let the bamboo canes pass through.
- Cut bamboo to 500mm lengths.
- Cut downpipes to 190mm lengths.
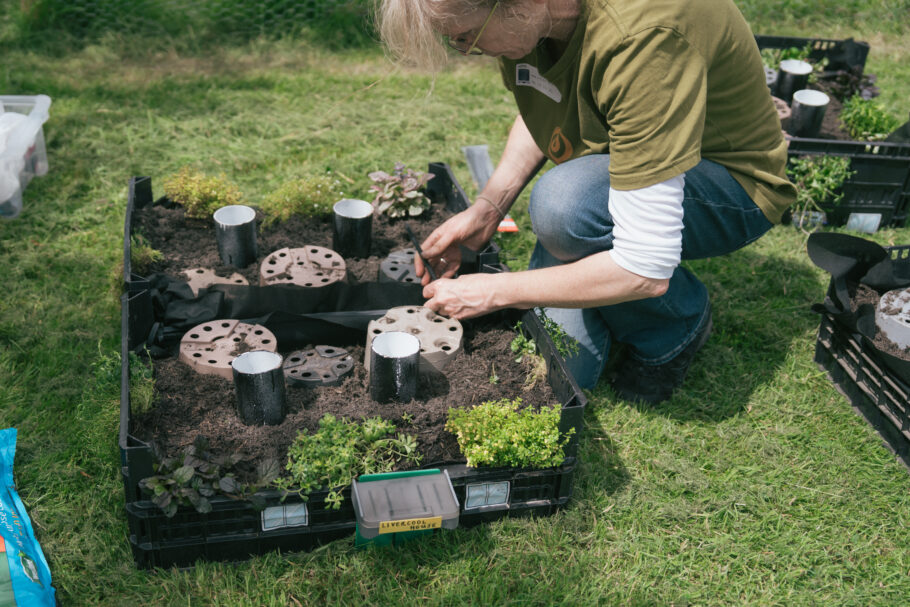
- Place your first two crates in position and fill with compost. Include a couple of empty upside-down plant pots as an option to save compost and reduce weight.
- Place plants around the sides of each crate. Most plants need light so don’t add them to the middle of crates or at the back of the block if you are building against a wall. You can cover these patches with mulch to avoid leaving this as bare soil.
- Connect crates with cable tiese as you build. Connect each crate to the one below with at least cable ties adn to the side crate with another three ties.
- Insert bamboo canes in the corners of the crates. The canes will pass through all floors and help keep the block together and lined up.
- Place downpipe supports: Cut supports 10mm shorter than the depth of the crate. Using two per crate, place them upright towards the middle of the crate.
- Water plants and soil well before adding the next layer of crates. Do not water the crates before placing in position because a water crate is too heavy to stacked easily.
- Add the next layer and repeat.
Build together. This is a great group activity; individuals or small groups can have their own balcony, floor or even block to build, plant and decorate. The crates can be lined and filled beforehand, so the activity is focused on planting and personalising.
Try other shapes. You could build a terrace, or in a U or L-shape. Remember that plants will only grow where there is light so don’t make anything too deep. You could even recreate a local building or landmark.
Don’t go too high. Make sure your block is strong, safe and stable. We advise limiting to 3 crates high unless you can add more stabilising.
Create a community. Build multiple towers to make a cooling community. Different towers could have different themes for example different plants such as herbs or flowers or different decoration.
For the sides we used 40 small perennial alpines, sedums and small grasses, plants that are often used on roof gardens. They will be long lasting and not get too big for the Tower. We added 20 annual plants to fill in the spaces in the first year.
It is better to plant more small pots of the same type of plant, rather than fewer bigger plants because the plants will grow better. It usually saves money too.
We chose plants that are climate resilient and suitable for growing in a container.