Bulb planting as a dementia nature activity
This is bulb planting with a twist! Memories associated with being outdoors are painted around the pot in which the bulb is planted. Memories are written onto ‘flags’ which are planted in the pot and the whole thing acts as an ‘aide memoire’ or conversation starter whilst waiting for the bulb(s) to grow. Whilst this is a great activity for adults with dementia, all ages and abilities can enjoy taking part.
You will need
Pot decorating:
- 1 empty plant pot (washed and dried) – any size you like
- Can of spray paint (a light coloured car spray paint is ideal)
- Paints (small tester pots or any leftover tins are useful)
- Small brushes
- Scraps of material
- Outdoor images from magazines (e.g. landscapes, activities, wildlife, plants etc)
Bulb planting:
- Bulbs of your choice (the bigger the pot the more bulbs you can put in
Memory flag:
- A6 plain piece card
- Hole punch or sharp pencil
- Small garden cane
- Pen
Method
1. Beforehand, spray the pot evenly all over with the spray paint. This is best done outside or in a well-ventilated area. Allow plenty of time for it to dry so do this either the day before or at least two hours before you are going to use them.
2. Think of a memory or story connected with nature that you would like to use as the theme for decorating your pot. This might be a place or activity that is special to you, or a person or event that you associate with being outdoors.
3. Paint your decoration around the outside of the pot, noting that It’s about expressing that memory, not necessarily the quality of the art work.
4. Allow time for the paint to dry.
5. Plant the bulbs::
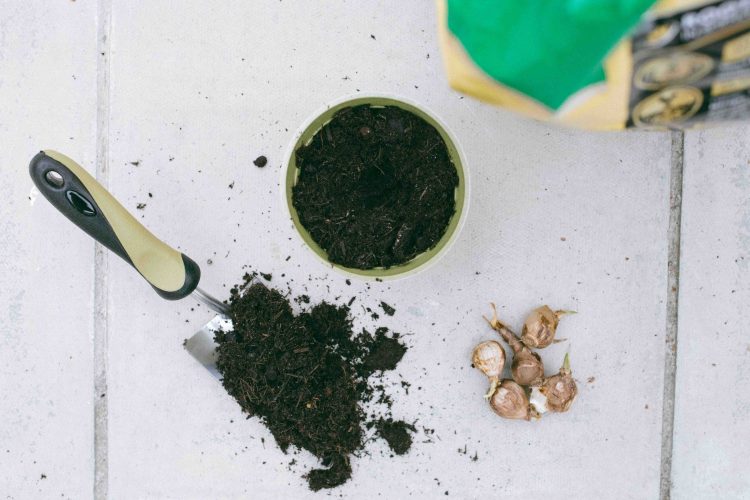
a. Fill the pot with the compost to the rim, make a hole for the bulb using your finger, or a large stick. Plant the bulb and cover the hole over, or;
b. Fill the pot up to the depth that the bulb should be planted, pop the bulb on top of the compost and then cover over with the rest of the compost to the rim of the pot.
Most bultss have an obvious pointy top and a flatter base with some roots or root nodules on it. If you’re not sure, plant the bulb on its side, the plant will work it out.
6. Take the plain piece of A6 card and write or draw something that connects with your painted pot.
7. Use the hole punch to make two holes along the short side of the card (or use a pencil to make the holes) and slide the garden cane through the holes to make a flag. Plant the ‘memory’ flag in the pot to one side so you don’t disturb the bulb(s).
Top Tips
- Planting several bulbs together provides a wonderful group display or you may want to plant one bulb that produces a ‘show-stopper’ flower.
- The ‘memory’ flag allows opportunities for conversation around the memory and what’s in the pot – making use of the pot and its decoration before the bulb sprouts
- You can include the name of the bulb and the date planted on your ‘memory’ flag and why not find a picture of the flower and glue it in the corner of the flag as another reminder and opportunity for discussion
- Once the plant shows above the soil you have the option of transplanting the flower(s) out in the garden. In doing this you’ve created two activities out of one – what a bargain!


