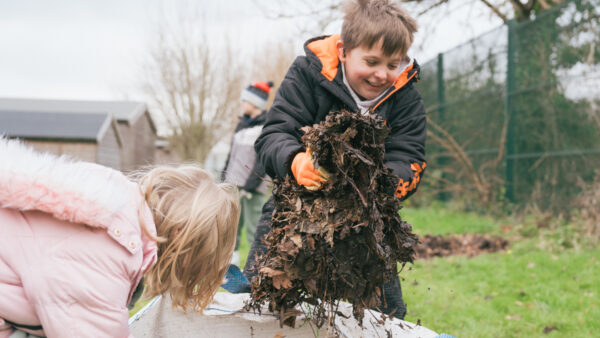
Drying flowers as a sensory nature activity
Dried flowers are a great resource, easy to find and easy to make, and good for making flowers last much longer than their former fresh selves.
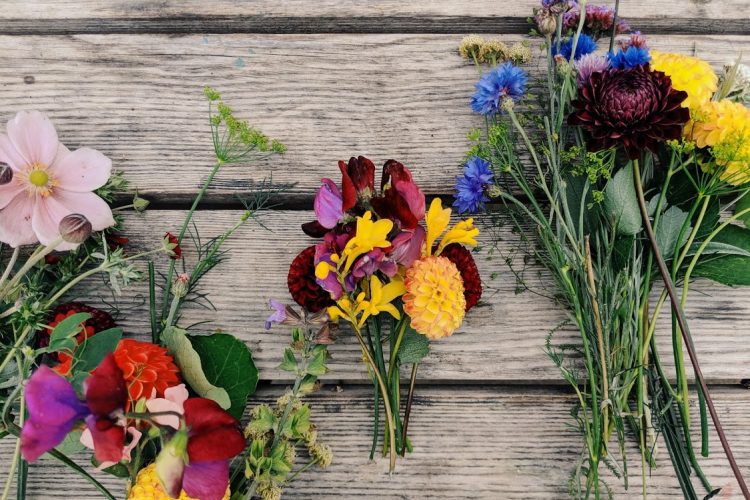
They can be used in many creative ways - decorating hand-made paper, making confetti, natural dyes and adding some classy touches to cakes - and lots more. The results are often surprising, sometimes disappointing and most times beautiful. Our interest is in finding sensory-rich combinations, ones where the colours contrast well with each other, or where the flowers bring the added bonus of scent or texture.
Drying flowers and leaves can conjure rich memories connected with the plants. People of all ages can enjoy it but it can be especially meaningful for people who have lived longer and collected more memories. It is low-cost and results in something beautiful that can be a keepsake and lasting reminder.
How to make dried flowers
Materials: Some fresh flowers and a method of drying.
Step 1: Find a method of drying. One option is to use a dehydrator. It's possible to spend over £200 ($300) for a quality machine and if you are serious about drying materials (particularly food) we'd advise you do your research as things like temperature control and air flow will matter. If like us, you simply want a more speedy version of drying flowers in the oven you might opt for a basic model. Ours cost around £30 and while you get what you pay for (no frills and a bit noisy) we're happy with the early results.
The dehydrator contains a series of mesh trays that slot one on top of each other and a fan blows hot air from the bottom. This means the lower trays dry more quickly but you can move them around if needs be.
Another option is to put them in the oven at a low temperature, or leave them out in the sunshine.
Step 2: Gather some fresh flowers. You will find lots of information online about different flowers, how well they dry and what results you can get. Use flowers that are fully out but not going over or wilting.
It's no secret we're lovers of all things orange so marigolds were a natural choice, and mixed with the stunning blue of cornflowers, well what's not to like? These are pot marigolds (Calendula), and like all marigolds the carry a rich, familiar scent which tends to be good in reminiscence work. And though we're using them for decoration, they offer a great edible option too.

Step 3: Load the dehydrator. Check the flowers are clean, cut the stems off and place the flowers on the trays (either as flower heads or petals, depending on what you want). Arrange in a single layer making sure they don't overlap or they will stick together. Drying time will vary with different flowers and it's a good idea to check progress every hour or so. Ours took about three hours to dry.
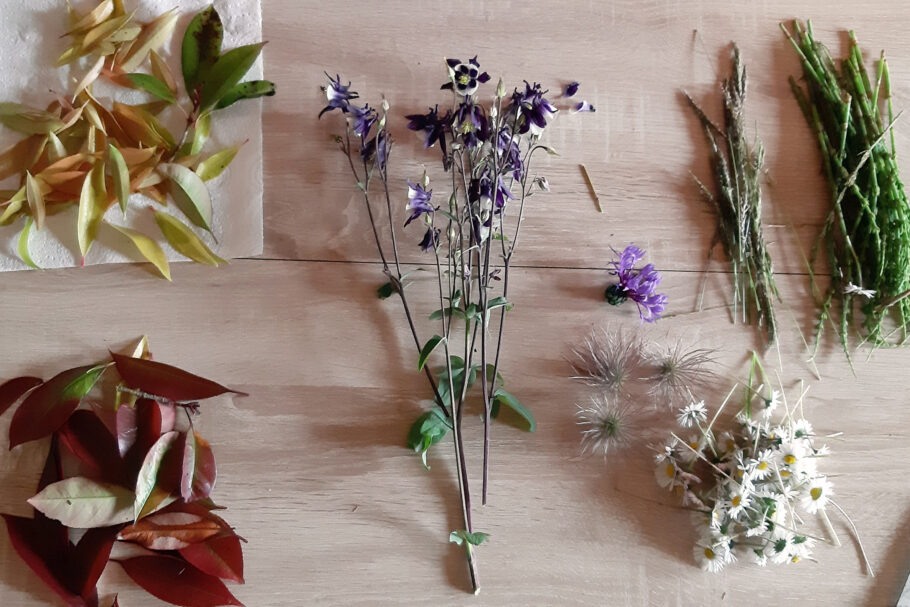
We dried them mostly as complete flowers and this worked well, especially with the cornflowers which we found 'fluffed up' in the hot air in the dehydrator (this was a nice effect with thistle flowers too).
We also tried some petals and these turned out great too.